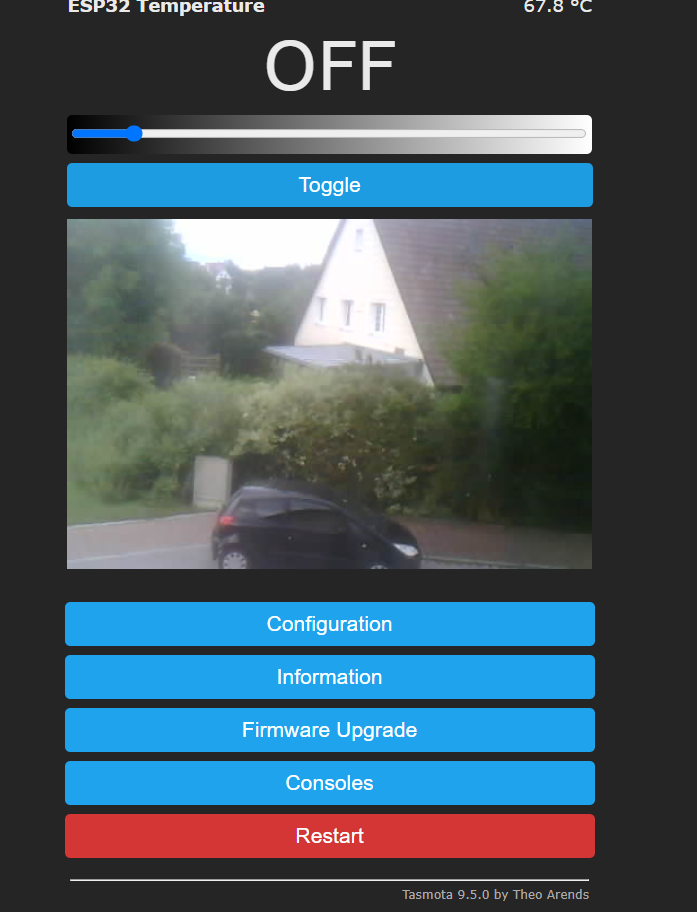
elektronik:tasmota
Dies ist eine alte Version des Dokuments!
Inhaltsverzeichnis
Tasmota
- Installiert mit Tasmotizer von https://tasmota.github.io/docs/Getting-Started/
- Videoanleitung von https://www.youtube.com/watch?v=UE7iNocOx88
- Schaltung blaue LED am LoLin Nodemcu GPIO2, keine LED an GPIO16 https://lowvoltage.github.io/2017/07/09/Onboard-LEDs-NodeMCU-Got-Two
SML Smart Meter
- in gitpod.io erzeugt, firmware aus Tasmota/build_output/firmware/tasmota.bin runtergeladen
- https://tasmota.github.io/docs/Gitpod/ –> Github Login
- plattformio_override.ini
board = esp8266_4M2M - tasmota/user_config_override.h verschiedene Module deaktivieren, wie in https://wvssiot.files.wordpress.com/2020/04/howto_-tasmota-sml.pdf beschrieben
- in ESP8266 und Firmwareupdaten mit http://ota.tasmota.com/tasmota/release/tasmota-minimal.bin.gz gemacht
- als nächstes die tasmota.bin ausgewählt und geflasht
- Skript eingefügt, in Zeile
+1,3,s,0,9600,GS303steht die 3 für GPIO3, der darf keiner anderen Funktion zugewiesen sein! -
- Fototransitor: SFH 300 FA, 10 kOhm Pullup zu 3,3V, Emitter an GND, Kollektor mit Widerstand an RX (GPIO3)
- :todo: zwei Zähler vom Haus als Counter einbinden
- Zähler mit 100 Impulsen:
>D
>B
>M 2
+1,2,c,1,-5,Oben
1,1-0:1.8.0*255(@100,Energie,KWh,Total_in,3)
1,1-0:1.7.0*255(@0.0016667, Leistung,W,Power_actual,0)

+2,4,c,1,-5,Unten
2,1-0:1.8.0*255(@100,Energie,KWh,Total_in,3)
2,1-0:1.7.0*255(@0.0016667, Leistung,W,Power_actual,0)
#
- 1000 Impulse / kWh:
>D
>B
>M 2
+1,2,c,1,-5,Oben
1,1-0:1.8.0*255(@1000,Energie,KWh,Total_in,3)
1,1-0:1.7.0*255(@0.016667, Leistung,W,Power_actual,0)

+2,4,c,1,-5,Unten
2,1-0:1.8.0*255(@1000,Energie,KWh,Total_in,3)
2,1-0:1.7.0*255(@0.016667, Leistung,W,Power_actual,0)
#
- SML Zähler: >D
>B
=>sensor53 r
>M 1
+1,3,s,0,9600,GS303
1,77070100010800ff@1000,Total Consumed,KWh,Total_in,3
1,77070100100700ff@1,Current Consumption,W,Power_cur,0
1,77070100020800ff@1000,Total Delivered,KWh,Total_out,3
1,7707010060320101@#,Service ID,,Meter_id,0
#
- in Console die Befehle von https://tasmota.github.io/docs/Smart-Meter-Interface/#sdm72d-modbus eingeben, damit Zähler aktiviert ist (https://youtu.be/s6qQs4FN9B0?t=1450)
- Zählerstand ändern:
sensor53 c0 1234, change 0 if you have more than one smartmeter. 1234 includes the impulses/unit. For 100 impules per unit the 1234 means 12.34 units. Source: https://tasmota.github.io/docs/Smart-Meter-Interface/#sensors
Für WT32-ETH01: https://github.com/arendst/Tasmota/issues/9496#issuecomment-715338713 Template und 3 Befehle, dann ist ETH mit 100MBaud aktiv
M5Stack Basic
- Installation im Chromium nach https://tasmota.github.io/docs/LVGL_in_10_minutes/#try-a-lvgl-demo-app
gitpod.io
- URL bauen mit Repo, z.B. https://gitpod.io/#https://github.com/G4lile0/ESP32-WiFi-Hash-Monster/tree/master
- Befehl eingeben:
pip3 install -U platformioundplatformio run - im Ordner .pio/build/m5stack-fire ist eine bin und elf Datei
elektronik/tasmota.1674681965.txt.gz · Zuletzt geändert: (Externe Bearbeitung)